German Short Rows

This is my favourite short row technique and I include this tutorial in all my sock patterns!

You can substitute it in any time short rows are used – if you’re substituting it for wrap and turn short rows, knit or purl the stitch that would be wrapped, then turn and work the double stitch.

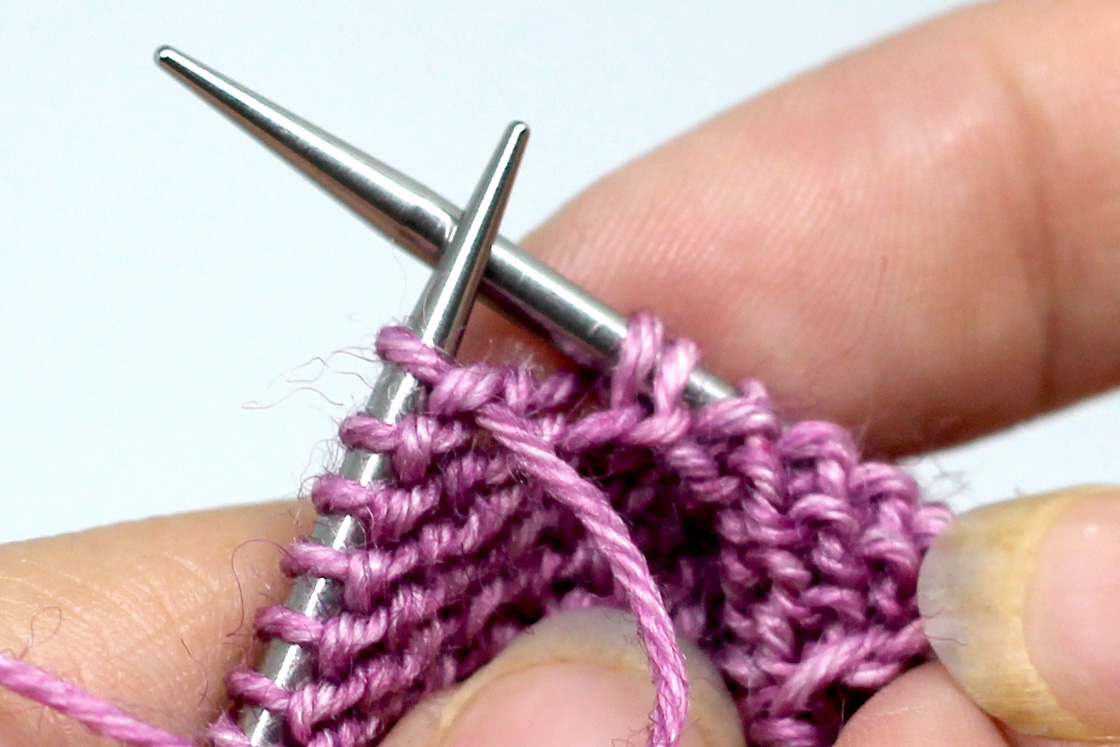
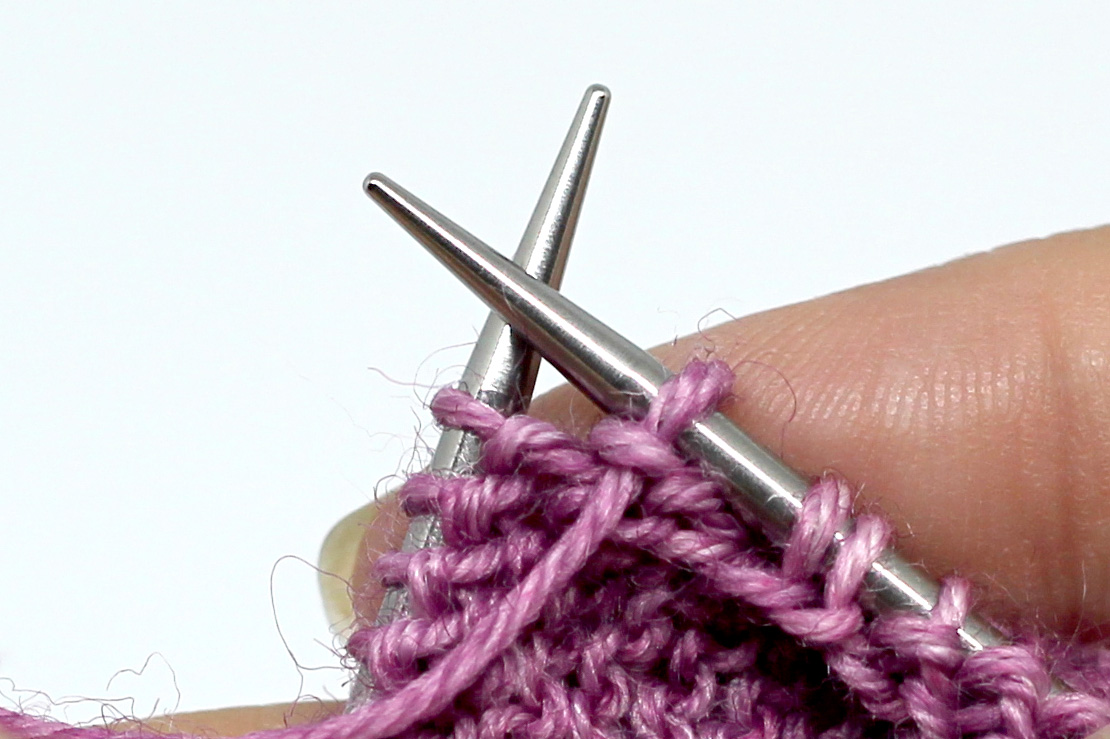
The purl side of a piece of knitting that has been turned mid row. The working yarn is at the front of the work.
1. Knit to the right point and turn.
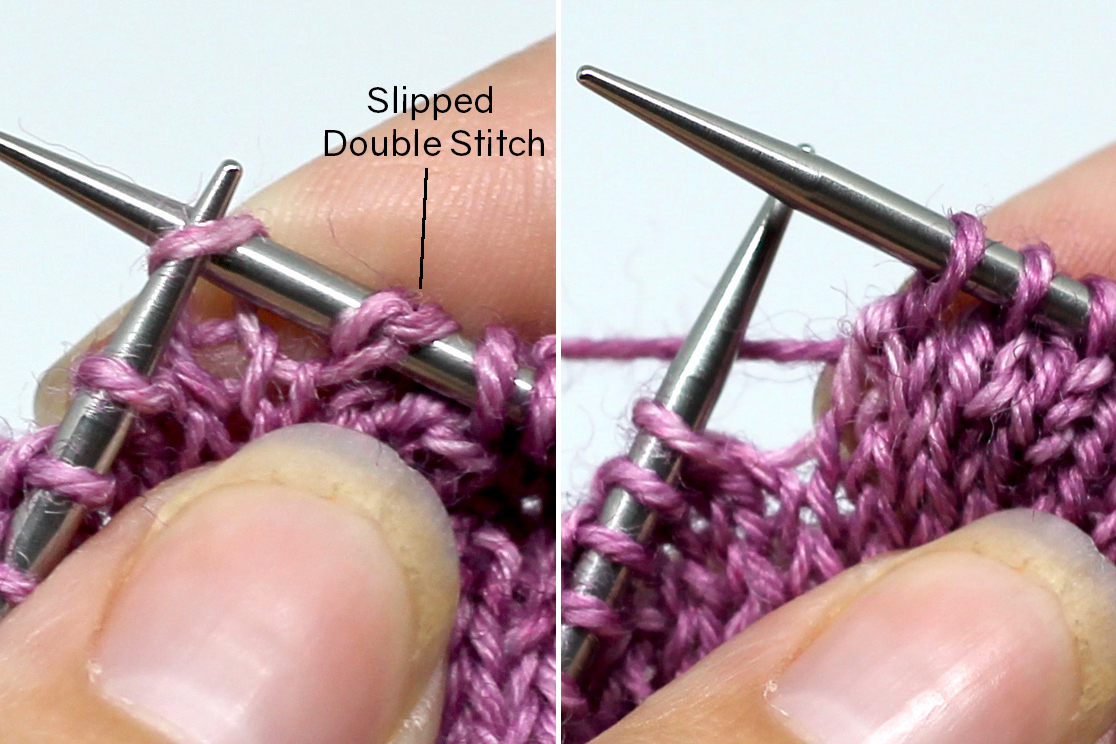
The first stitch from the left-hand needle has been slipped to the right hand needle
2. With the yarn at the front, slip the first stitch purlwise to the right-hand needle.
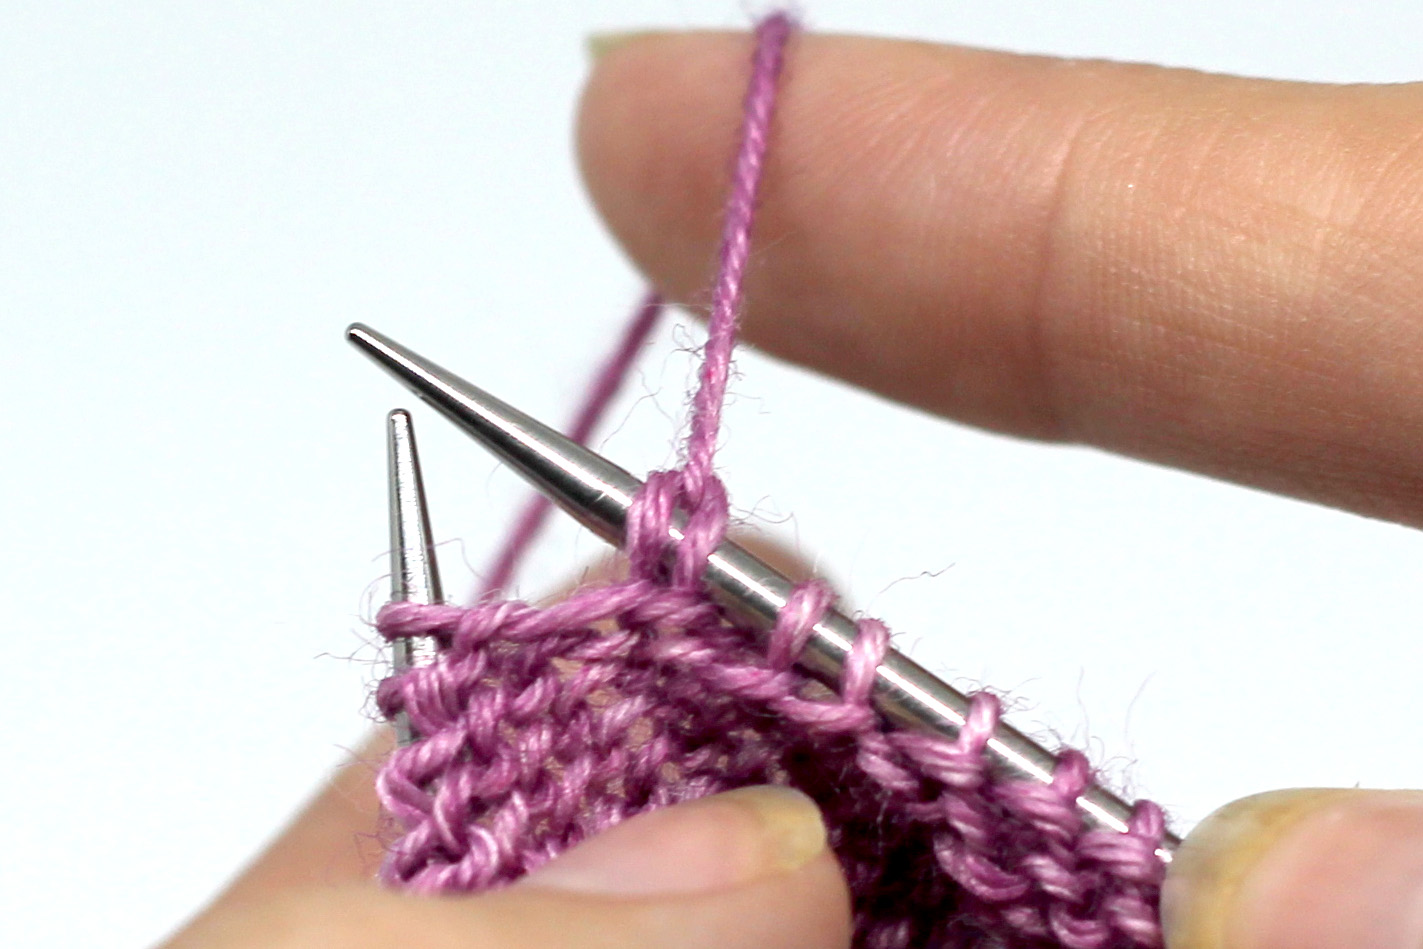
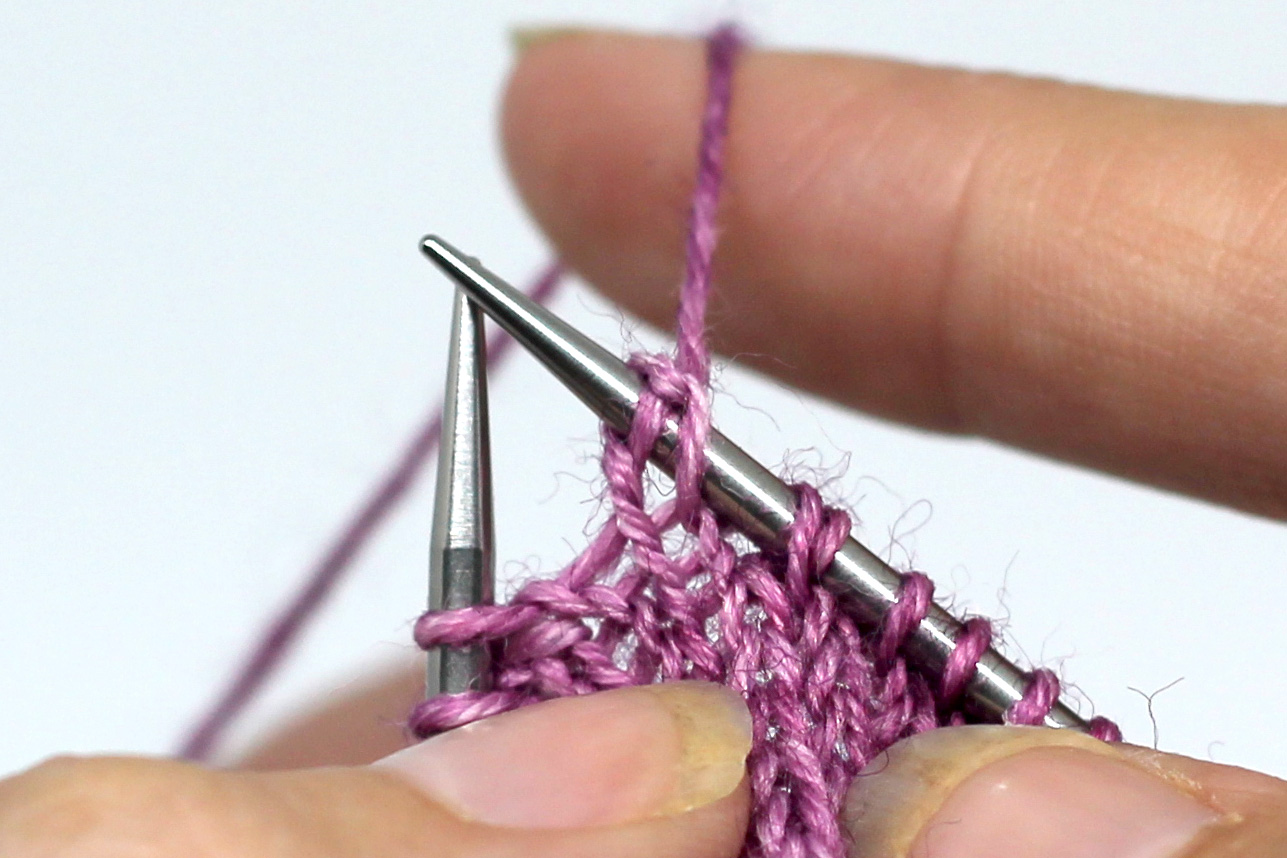
The working yarn has been pulled up over the knitting needle, causing the stitch to change shape and giving two strands over the needle instead of one.
3. Lift your yarn up and over the needle, pulling on the stitch until two legs appear. This makes the double stitch.
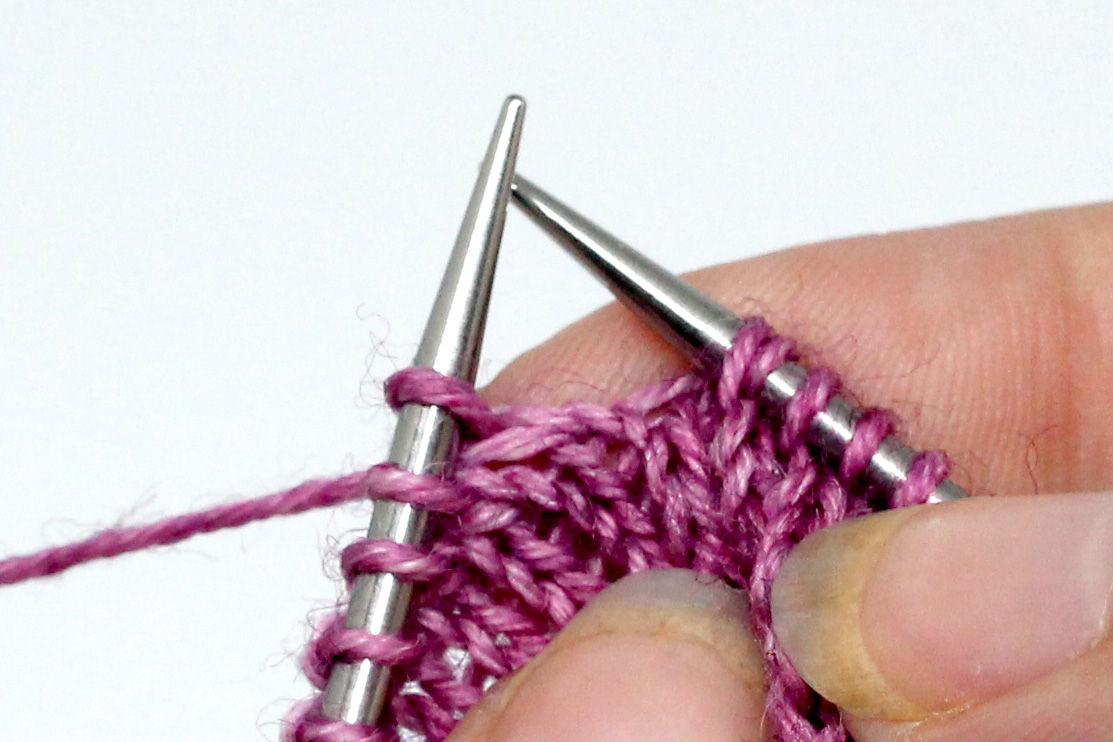
The knit side of a piece of knitting that has been turned mid row. The working yarn is at the back of the knitting
4. Bring the yarn to the front and purl to the end of the row and turn. (Image shows knitting after being turned)
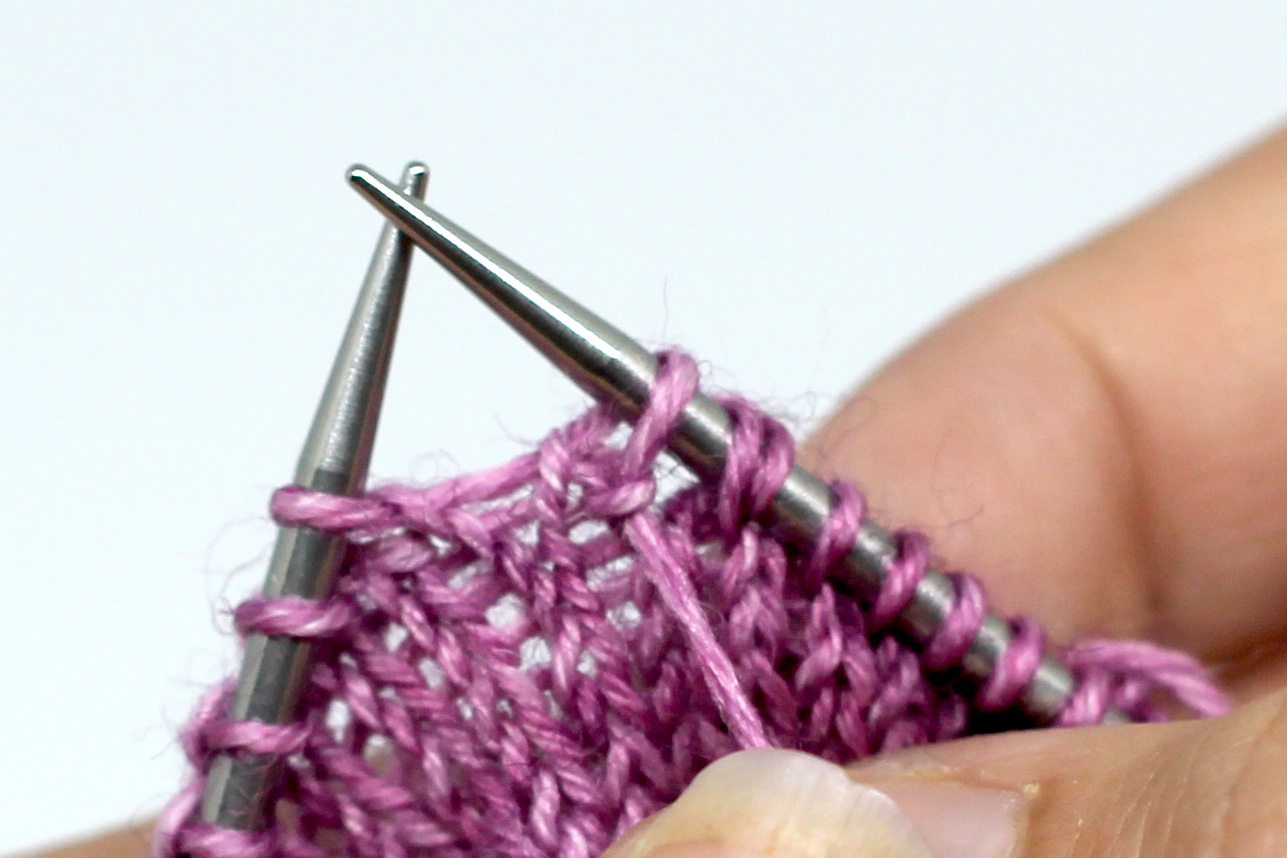
The working yarn has been brought to the front between the needles and the first stitch slipped from the left-hand needle to the right-hand needle
5. Bring the yarn to the front and purl to the end of the row and turn.
The working yarn has been pulled up over the knitting needle, causing the stitch to change shape and giving two strands over the needle instead of one.
6. Lift your yarn up and over the needle to the back, pulling on the stitch until two legs appear. This makes the double stitch. Repeat from 1 -6 until all short rows have been completed. See 7 for picking up double stitches.
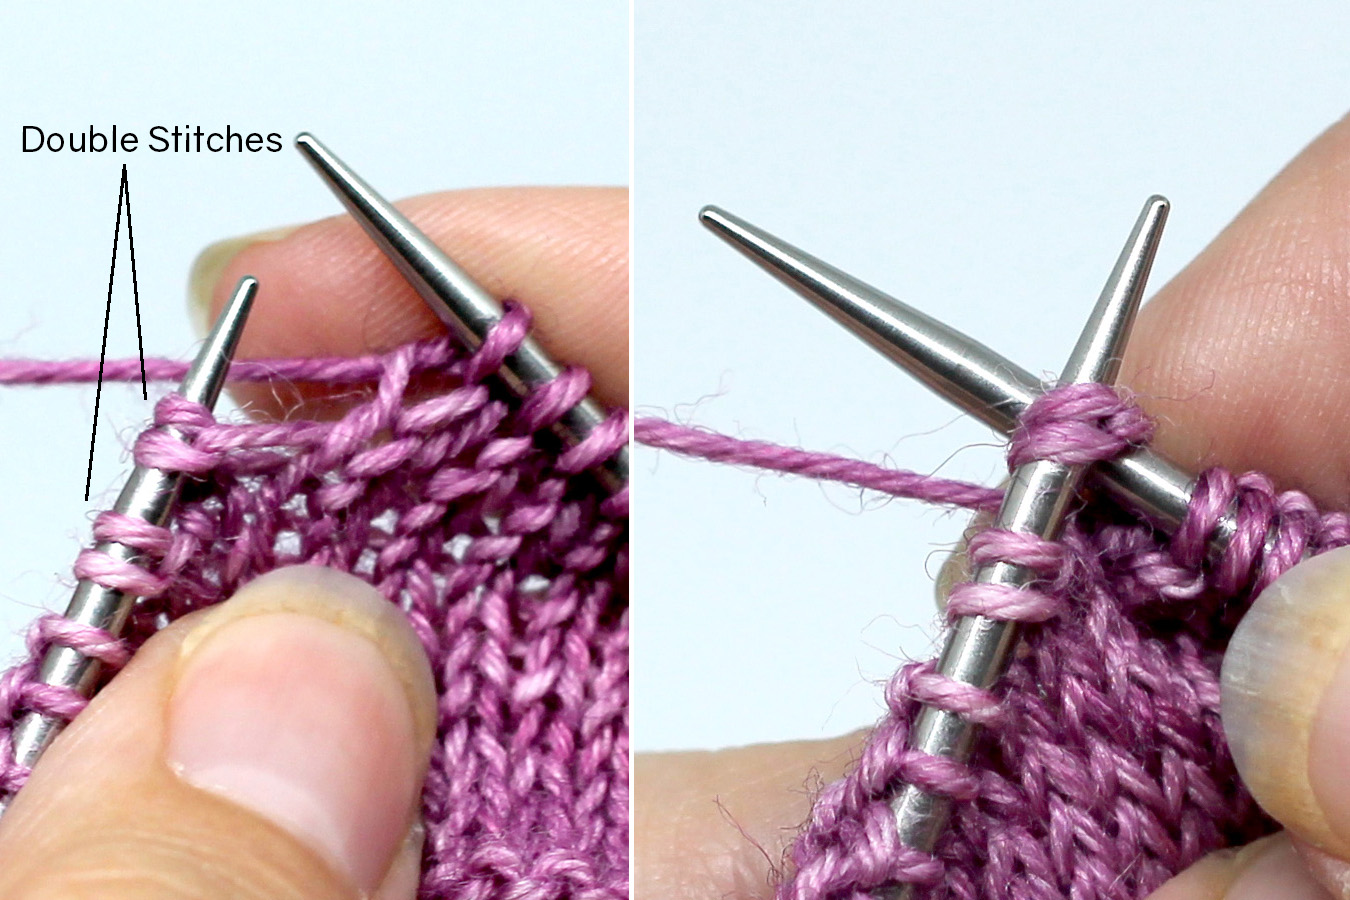
Two images showing the knit side of a piece of knitting. Left image: The double stitch formed in step 3 is on the left-hand needle. Right Image - The double stitch is being worked with both legs at once, like a k2tog
7. Knit to double stitch. Knit both legs together like working a k2tog.
Two images showing the knit side of a piece of knitting. Left image: A double stitch has been slipped knitwise to the right-hand needle and the second stitch of the ssk is in the process of being slipped. Right Image - The completed ssk.
8. In my sock patterns, I have a ssk that uses the last double stitch as the first slip stitch. Simply slip both legs together knitwise, and continue working the ssk as normal.
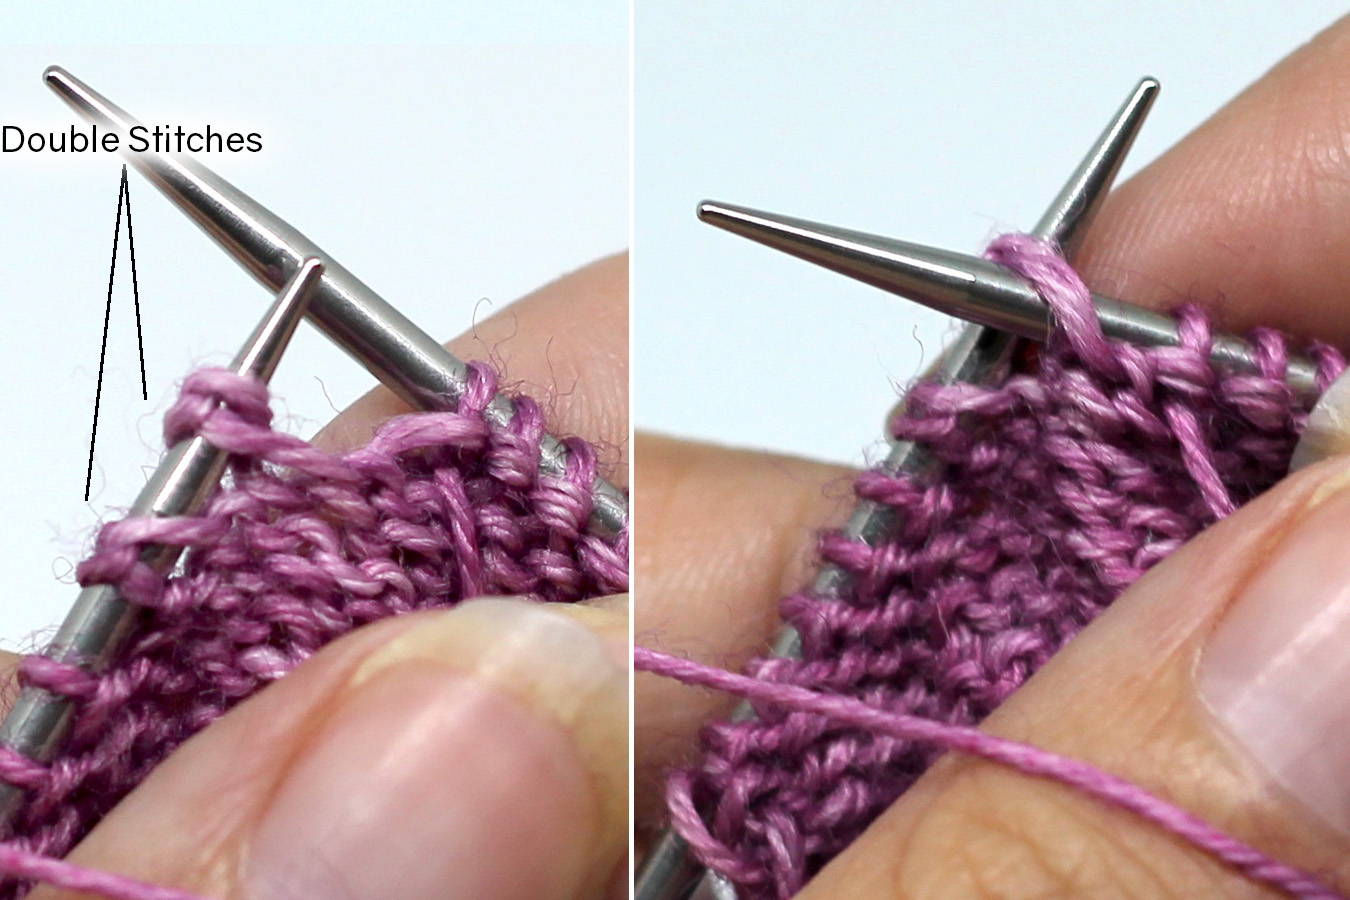
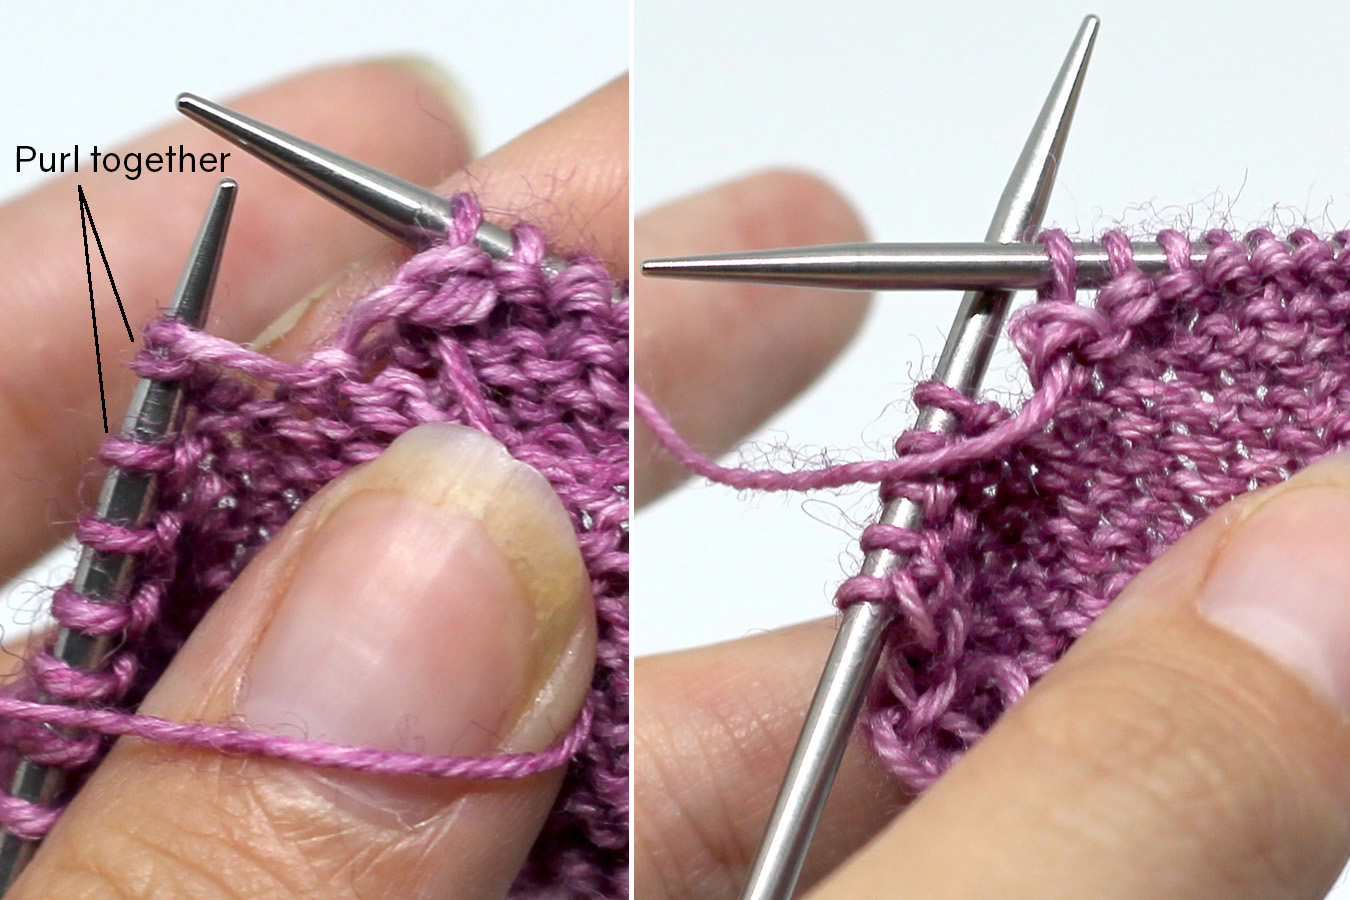
Two images showing the purl side of a piece of knitting. Left image: The double stitch formed in step 6 is on the left-hand needle. Right Image - The double stitch is being worked with both legs at once, like a p2tog
9. Purl to double stitch. Purl both legs together like working a p2tog.
Two images showing the purl side of a piece of knitting. Left image: The double stitch formed in step 6 is on the left-hand needle next to a normal stitch. Right Image - The double stitch and single stitch have been purled together, like a p3tog
10. In my sock patterns, I have a p2tog uses the last double stitch as the first stitch. Purl the double stitch and the next stitch together as for a purl 3 together.
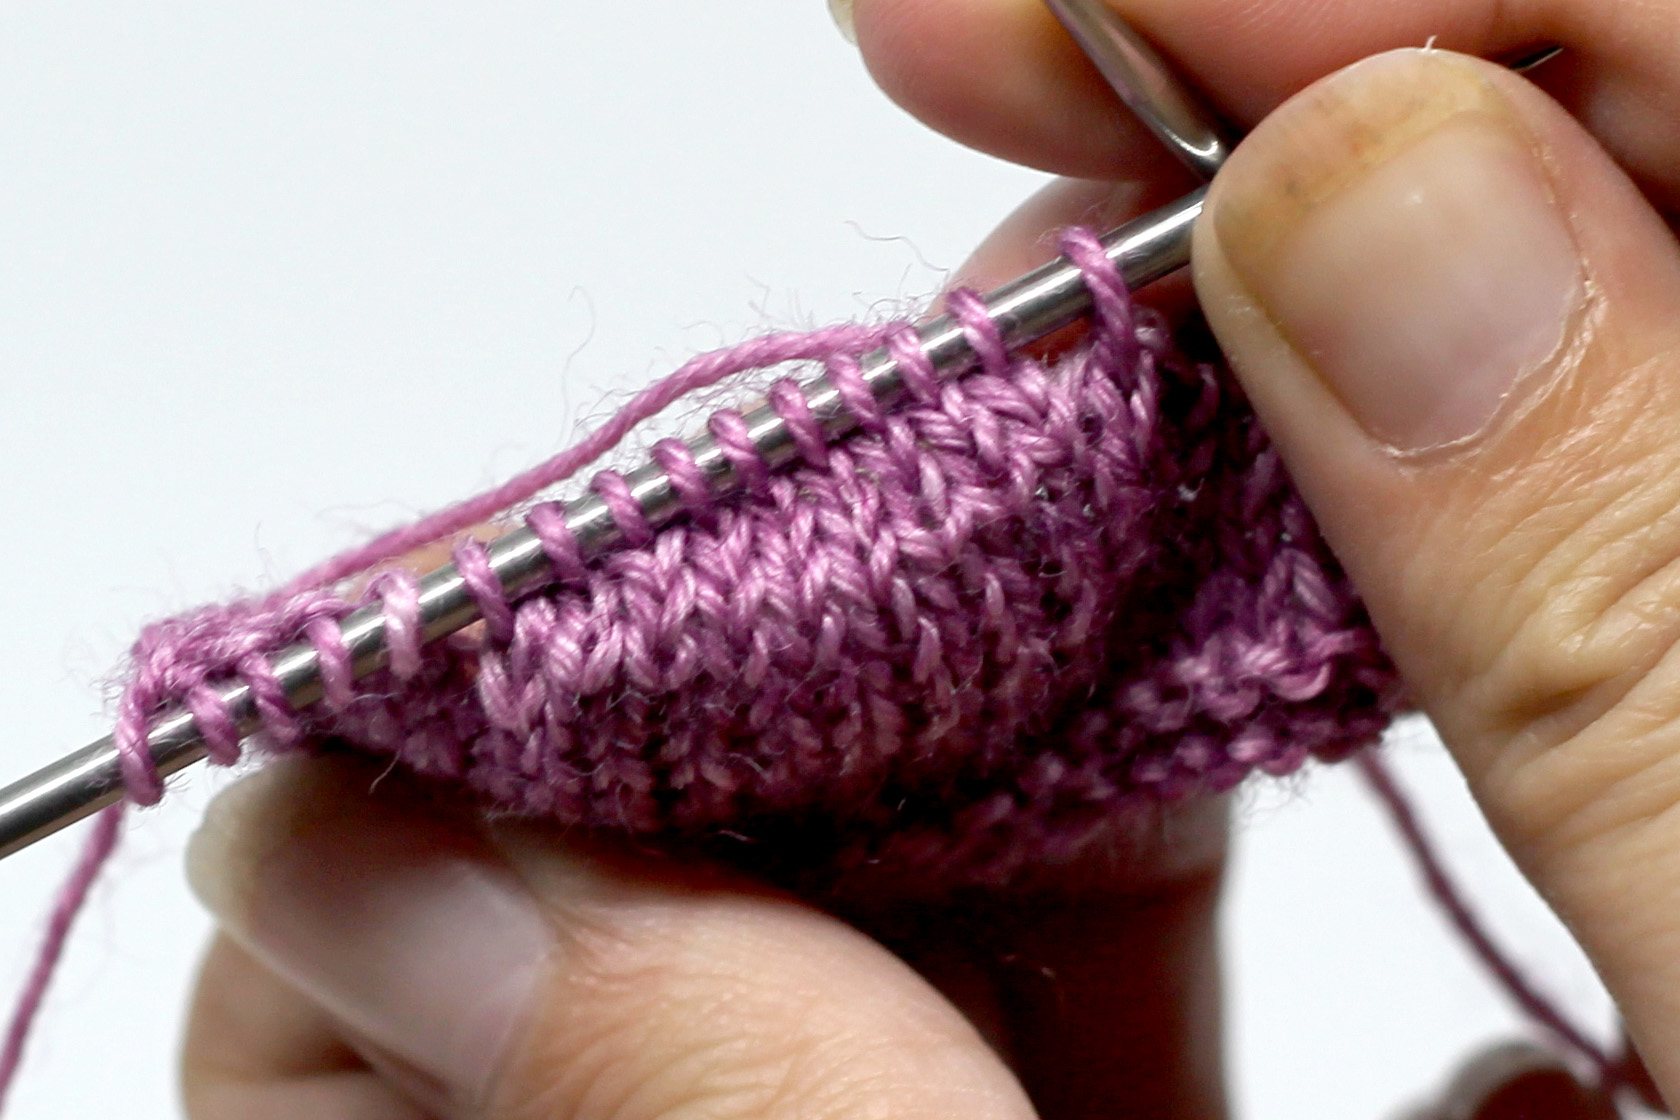
The finished short rows on the needle showing the slight shaping in the knitting.
The finished short rows on the needle...
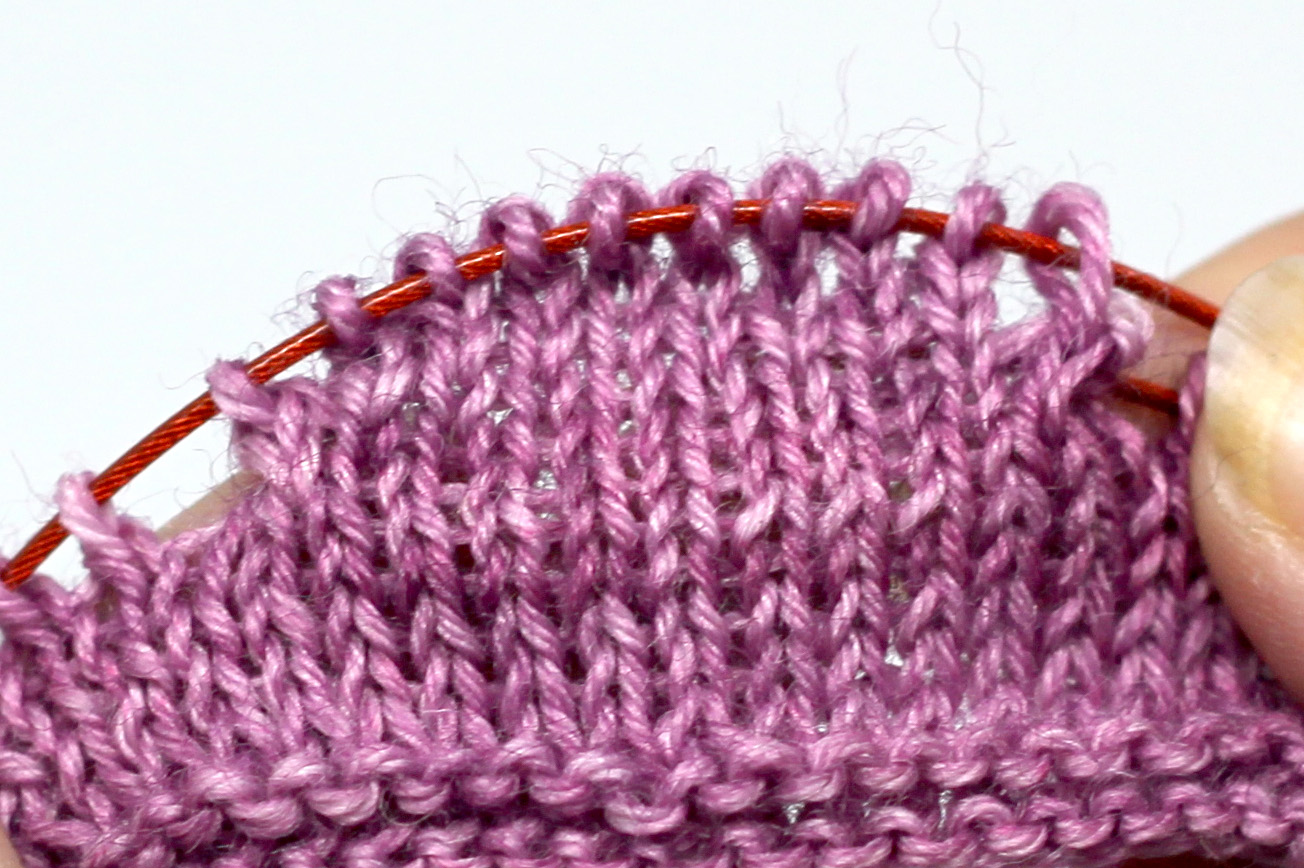
The finished short rows on the cable of a circular needle, showing the curve produced.
and off the needle!
Skip to content